


vero board big size dotted
14 sold in last 24 hours
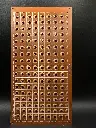
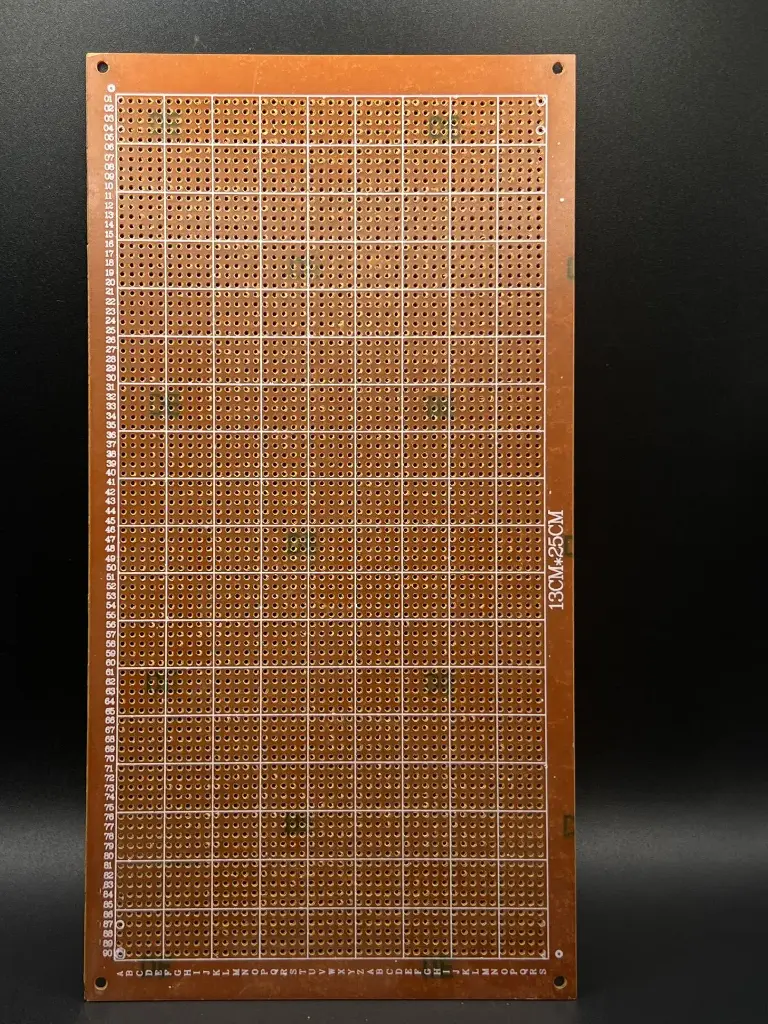
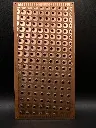
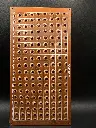
A Vero board, also known as a perforated or stripboard, is a versatile prototyping board used for constructing electronic circuits. The big size dotted Vero board is designed to accommodate larger and more complex circuits. It features a grid of holes that allow for easy insertion and soldering of electronic components. The dotted pattern provides a clear reference for placing and connecting components, making it an essential tool for hobbyists and engineers during the prototype development phase.
Key Features:
- Large size for accommodating bigger and more complex circuits
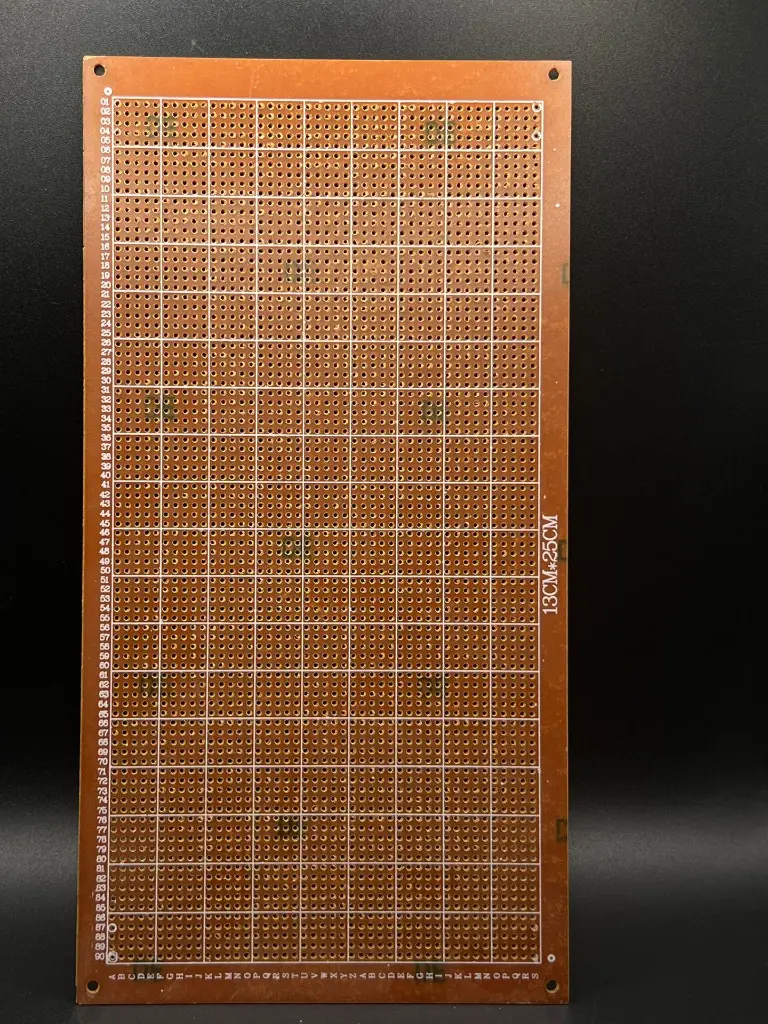
- Dotted pattern for easy component placement and alignment
- Pre-drilled holes for flexible component mounting
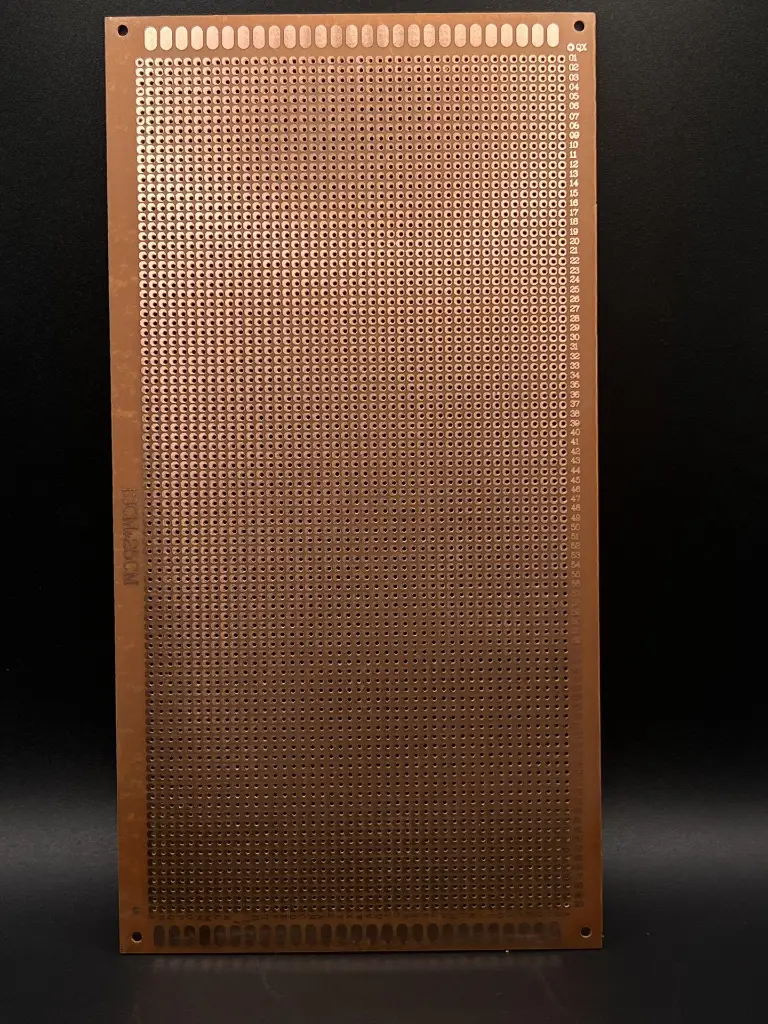
- Copper tracks on one side for connecting components
- Can be easily cut to size or modified as needed
- Suitable for both through-hole and surface-mount components
- Board Size: Varies
- Hole Spacing: 2.54 mm (0.1 inch) standard grid
- Copper Track: One side covered with copper tracks
- Material: Phenolic or fiberglass
- Prototyping electronic circuits and devices
- DIY electronics projects
- Testing and debugging circuit designs
- Creating custom electronic modules
- Plan your circuit design and layout on the Vero board.
- Insert components through the holes and solder them to the copper tracks.
- Cut or modify the board as needed to fit your circuit.
- Use jumper wires or additional components to complete the circuit connections.
- Ensure proper ventilation while soldering to avoid inhaling fumes.
- Be cautious of sharp edges when cutting the board.
- Verify component placement and connections before powering up the circuit.
No Specifications