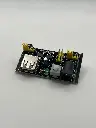


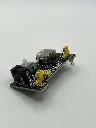
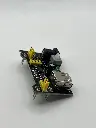
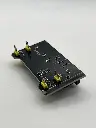
Breadboard power supply
The Breadboard Power Supply Module is designed to provide a stable and adjustable voltage supply for breadboard-based projects. This module plugs directly into a standard breadboard and can supply power to both the power rails, making prototyping and testing electronic circuits easier and more efficient.
Key Features:
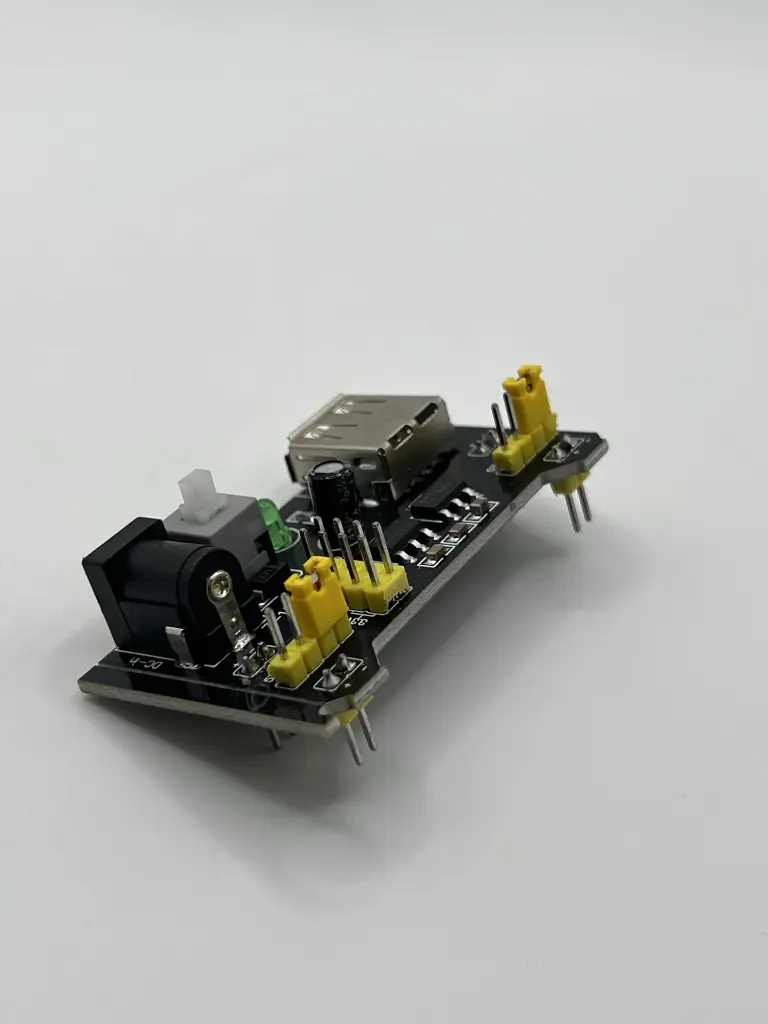
- Adjustable output voltage: 3.3V and 5V
- Dual output channels for breadboard power rails
- Compact and easy to use
- Overcurrent protection
- On/Off switch
- Power indicator LEDs
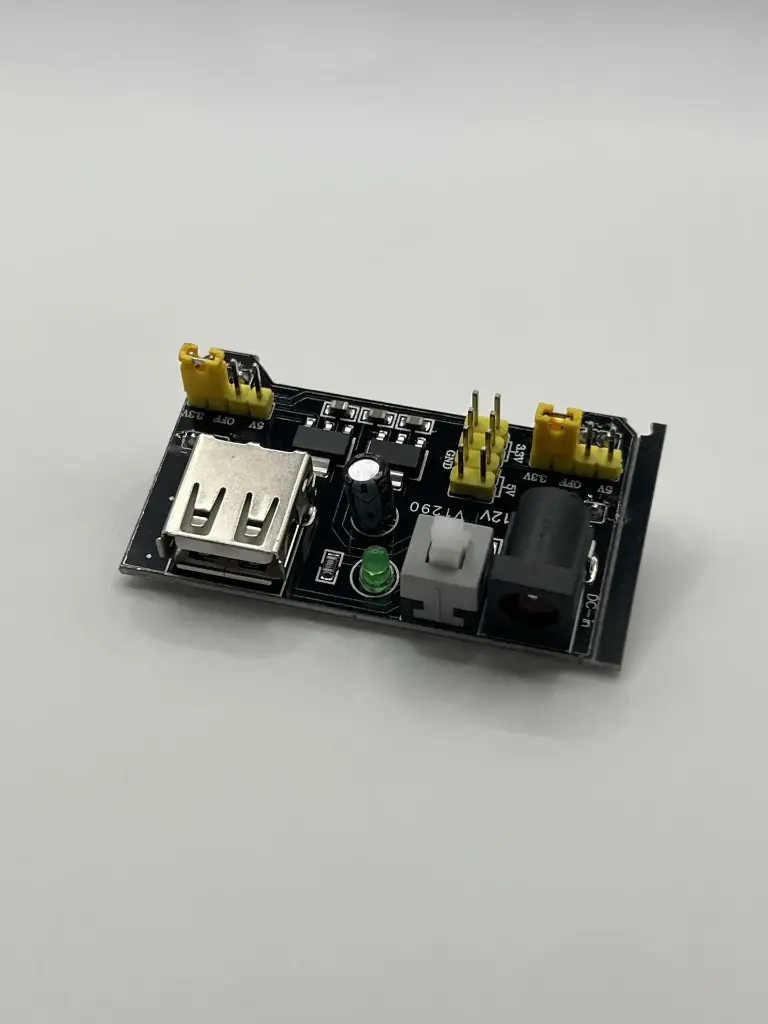
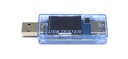
- Input power via USB or DC barrel jack
- Input Voltage: 6.5V to 12V (via DC barrel jack) or 5V (via USB)
- Output Voltage: 3.3V and 5V
- Output Current: Up to 700mA
- Power Output: Dual output channels for breadboard rails
- Connectors: USB Type-A, DC barrel jack, and breadboard pins
- Dimensions: Typically around 53mm x 35mm x 15mm
- Operating Temperature Range: -40°C to +85°C
- Breadboard prototyping
- Educational projects
- DIY electronics
- Power supply for small microcontroller projects
- Testing and debugging circuits
- Power Input: Connect the module to a power source using either the DC barrel jack (6.5V to 12V) or the USB port (5V).
- Breadboard Connection: Plug the module into the breadboard, ensuring the pins align with the breadboard power rails.
- Voltage Selection: Use the onboard jumper to select the desired output voltage (3.3V or 5V) for each channel.
- Power On: Switch the module on using the onboard switch. The power indicator LEDs will light up to indicate active power rails.
- Circuit Connection: Connect your circuit components to the breadboard, making use of the supplied voltage rails for power.
- Ensure correct orientation when plugging the module into the breadboard to avoid short circuits.
- Verify the input voltage and connections before powering on the module.
- Do not exceed the maximum output current to prevent overheating and potential damage.
- Follow the manufacturer’s guidelines for safe operation.
No Specifications